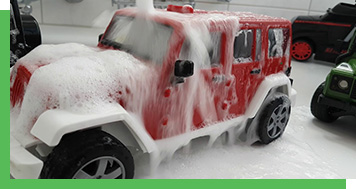
Car Painting with Washable Paint and Foam
and a Super Bubbly Car Wash Activity
Are you a kid who loves cars and loves to paint? There is an awesome activity you can do that combines the two into a messy, colorful piece of art that you can display in your house or even give to a friend. This is a fun, unique activity that you can do by yourself, with a grown-up, or with your friends.
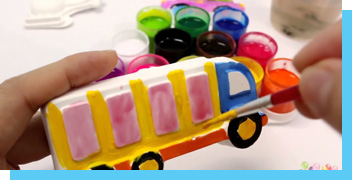
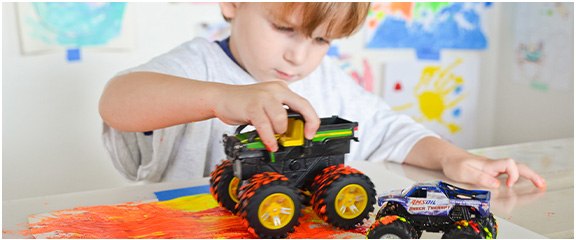
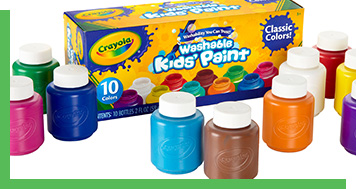
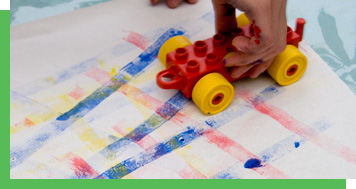
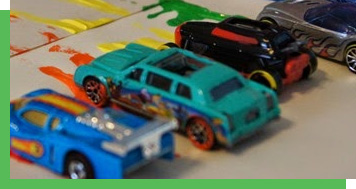
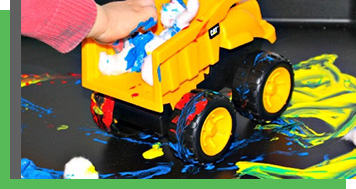
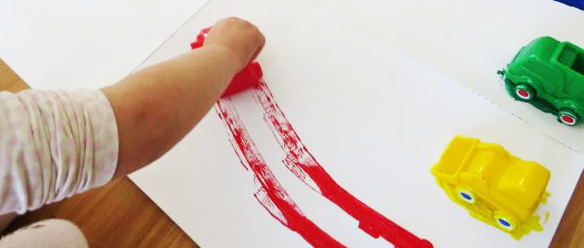
Most kids have painted before using paint brushes, sponges, and maybe even your fingers. But, did you know, that you can actually paint with your favorite car toys, too?
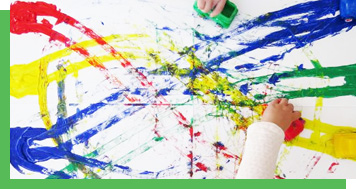
too? Painting with car toys is a really cool way to experiment with different art media and explore how different colors, shapes, and textures all interact together to create an awesome, one-of-a-kind masterpiece – using cars! This project will use favorite car toys to paint instead of a paint brush or your fingers. The different wheel size and treads on your cars can create wild and dizzying designs on your paper – making a new and unique masterpiece all your own. This may seem bizarre and strange when you first begin, but give it a chance and I’m sure you’ll soon be zooming across the page and creating designs no one has ever seen before!